
Adding an Image Picker to My Sanic Site
Posted Sep 19, 2023 at 10:56 AM
Edited Dec 17, 2024 at 8:25 PM
I made this site with the ability to upload images to use in blog posts. My initial implementation of this feature, however, was a bit half-baked. I could upload images just fine, but the only way to insert them into a blog post was to manually type the link in the post Markdown. The problem with this is that it required me to remember the filename of any image I uploaded that I want to use. This is an issue for several reasons. For example: what if I want to use an old previously uploaded image again in a new post? Well I sure hope I remember what I called it, otherwise I have to hunt it down in the uploads folder. Or what about this issue that came up in the first post I made just a couple days ago: uploading pictures I took on my phone. Those pictures have automatically generated names that are difficult to remember.
Obviously this wasn’t going to be sustainable. So I added a button that opens a window which allows me to choose any image I ever uploaded and automatically insert the Markdown syntax for that image into the body of the blog post. Here’s how I did it:
Step 1: Creating the route
The first step was to create the route that this window would open into. I just need it to look in the uploads directory to get the filenames, convert those filenames into URLs, and then pass those URLs as context to the template I haven’t made yet. Everything else can be handled with JavaScript on the front-end. Here’s the code:
@bp.route('/choose-image', ["GET"], name='image_picker')
@auth.login_required()
async def image_picker(request: Request):
    urls = []
    upload_path = request.app.config['UPLOAD_PATH']
    paths = os.listdir(upload_path)
    if len(paths) > 0:
        for path in paths:
            if os.path.isfile(upload_path + '/' + path):
                url = request.app.url_for(
                    'static', name='static', filename='uploads/' + path)
                urls.append(url)

    return await render(
        "upload/image_picker.html",
        context={
            'request': request,
            'images': urls,
        }
Since this is a Sanic application, it’s best practice to make this an async function. Otherwise this should be fairly straight-forward.
First, I declare the variables I need. urls is the list of URLs that will be returned (initially empty), upload_path is the path to look for uploaded files in (for my convenience so I don’t have to type request.app.config['UPLOAD_PATH'] every time), and paths is a bit of a misnomer since it’s actually the list of names of files and sub-directories in the uploads folder.
Next, I make sure the uploads folder isn’t empty so that I don’t get an error later when trying to check if the things in it are files. That’s why that if len(paths) > 0 is there. I then iterate over paths checking each name to see if it’s a file, since there would be problems if I tried to treat a directory like a file. If you’re working on a more serious application, then this is where you should check the type of the files to make sure they’re actually images. I’m able to skip this step because it’s a low-stakes application and I can trust that they will all be images since I’m the only one able to upload images right now (and even then I still might change this later because how much can I really trust myself?), but if you’re doing something like this for work or something you should be checking the file types. In my case though, if it’s a file and not a directory then I convert it to a URL and add it to the list of URLs.
Finally I just render the template, making sure to pass the URLs as context.
Step 2: Creating the HTML Template
Next step is to create the template that’s going to be rendered. Here’s the code for that:
<!DOCTYPE html>
<html lang="en">

<head>
  <link rel="stylesheet" href="{{ request.app.url_for('static', name='static', filename='bulma.min.css') }}">
  <script src="{{ request.app.url_for('static', name='static', filename='js/image_picker.js') }}"></script>
  <style>
    img {
      max-height: 250px;
      max-width: 500px;
      height: auto;
      width: auto;
    }
  </style>
</head>

<body>
  <div class="columns is-multiline">
    {% for image in images %}
    <div class="column is-one-fifth">
      <div class="is-flex is-justify-content-center">
        <img src="{{ image }}"  class="is-clickable" onclick="return closeSelf(this);"></img>
      </div>
      <div class="has-text-centered">
        <p>{{ image }}</p>
      </div>
    </div>
    {% endfor %}
  </div>
</body>
Pretty simple, right? I don’t need it to look fancy or anything, so while I am using Bulma to lay everything out that’s mainly just out of convenience since I already have it for the rest of the project. There’s no reason you need a CSS library for something bare-bones like this. Here’s a screenshot of what the page looks like:
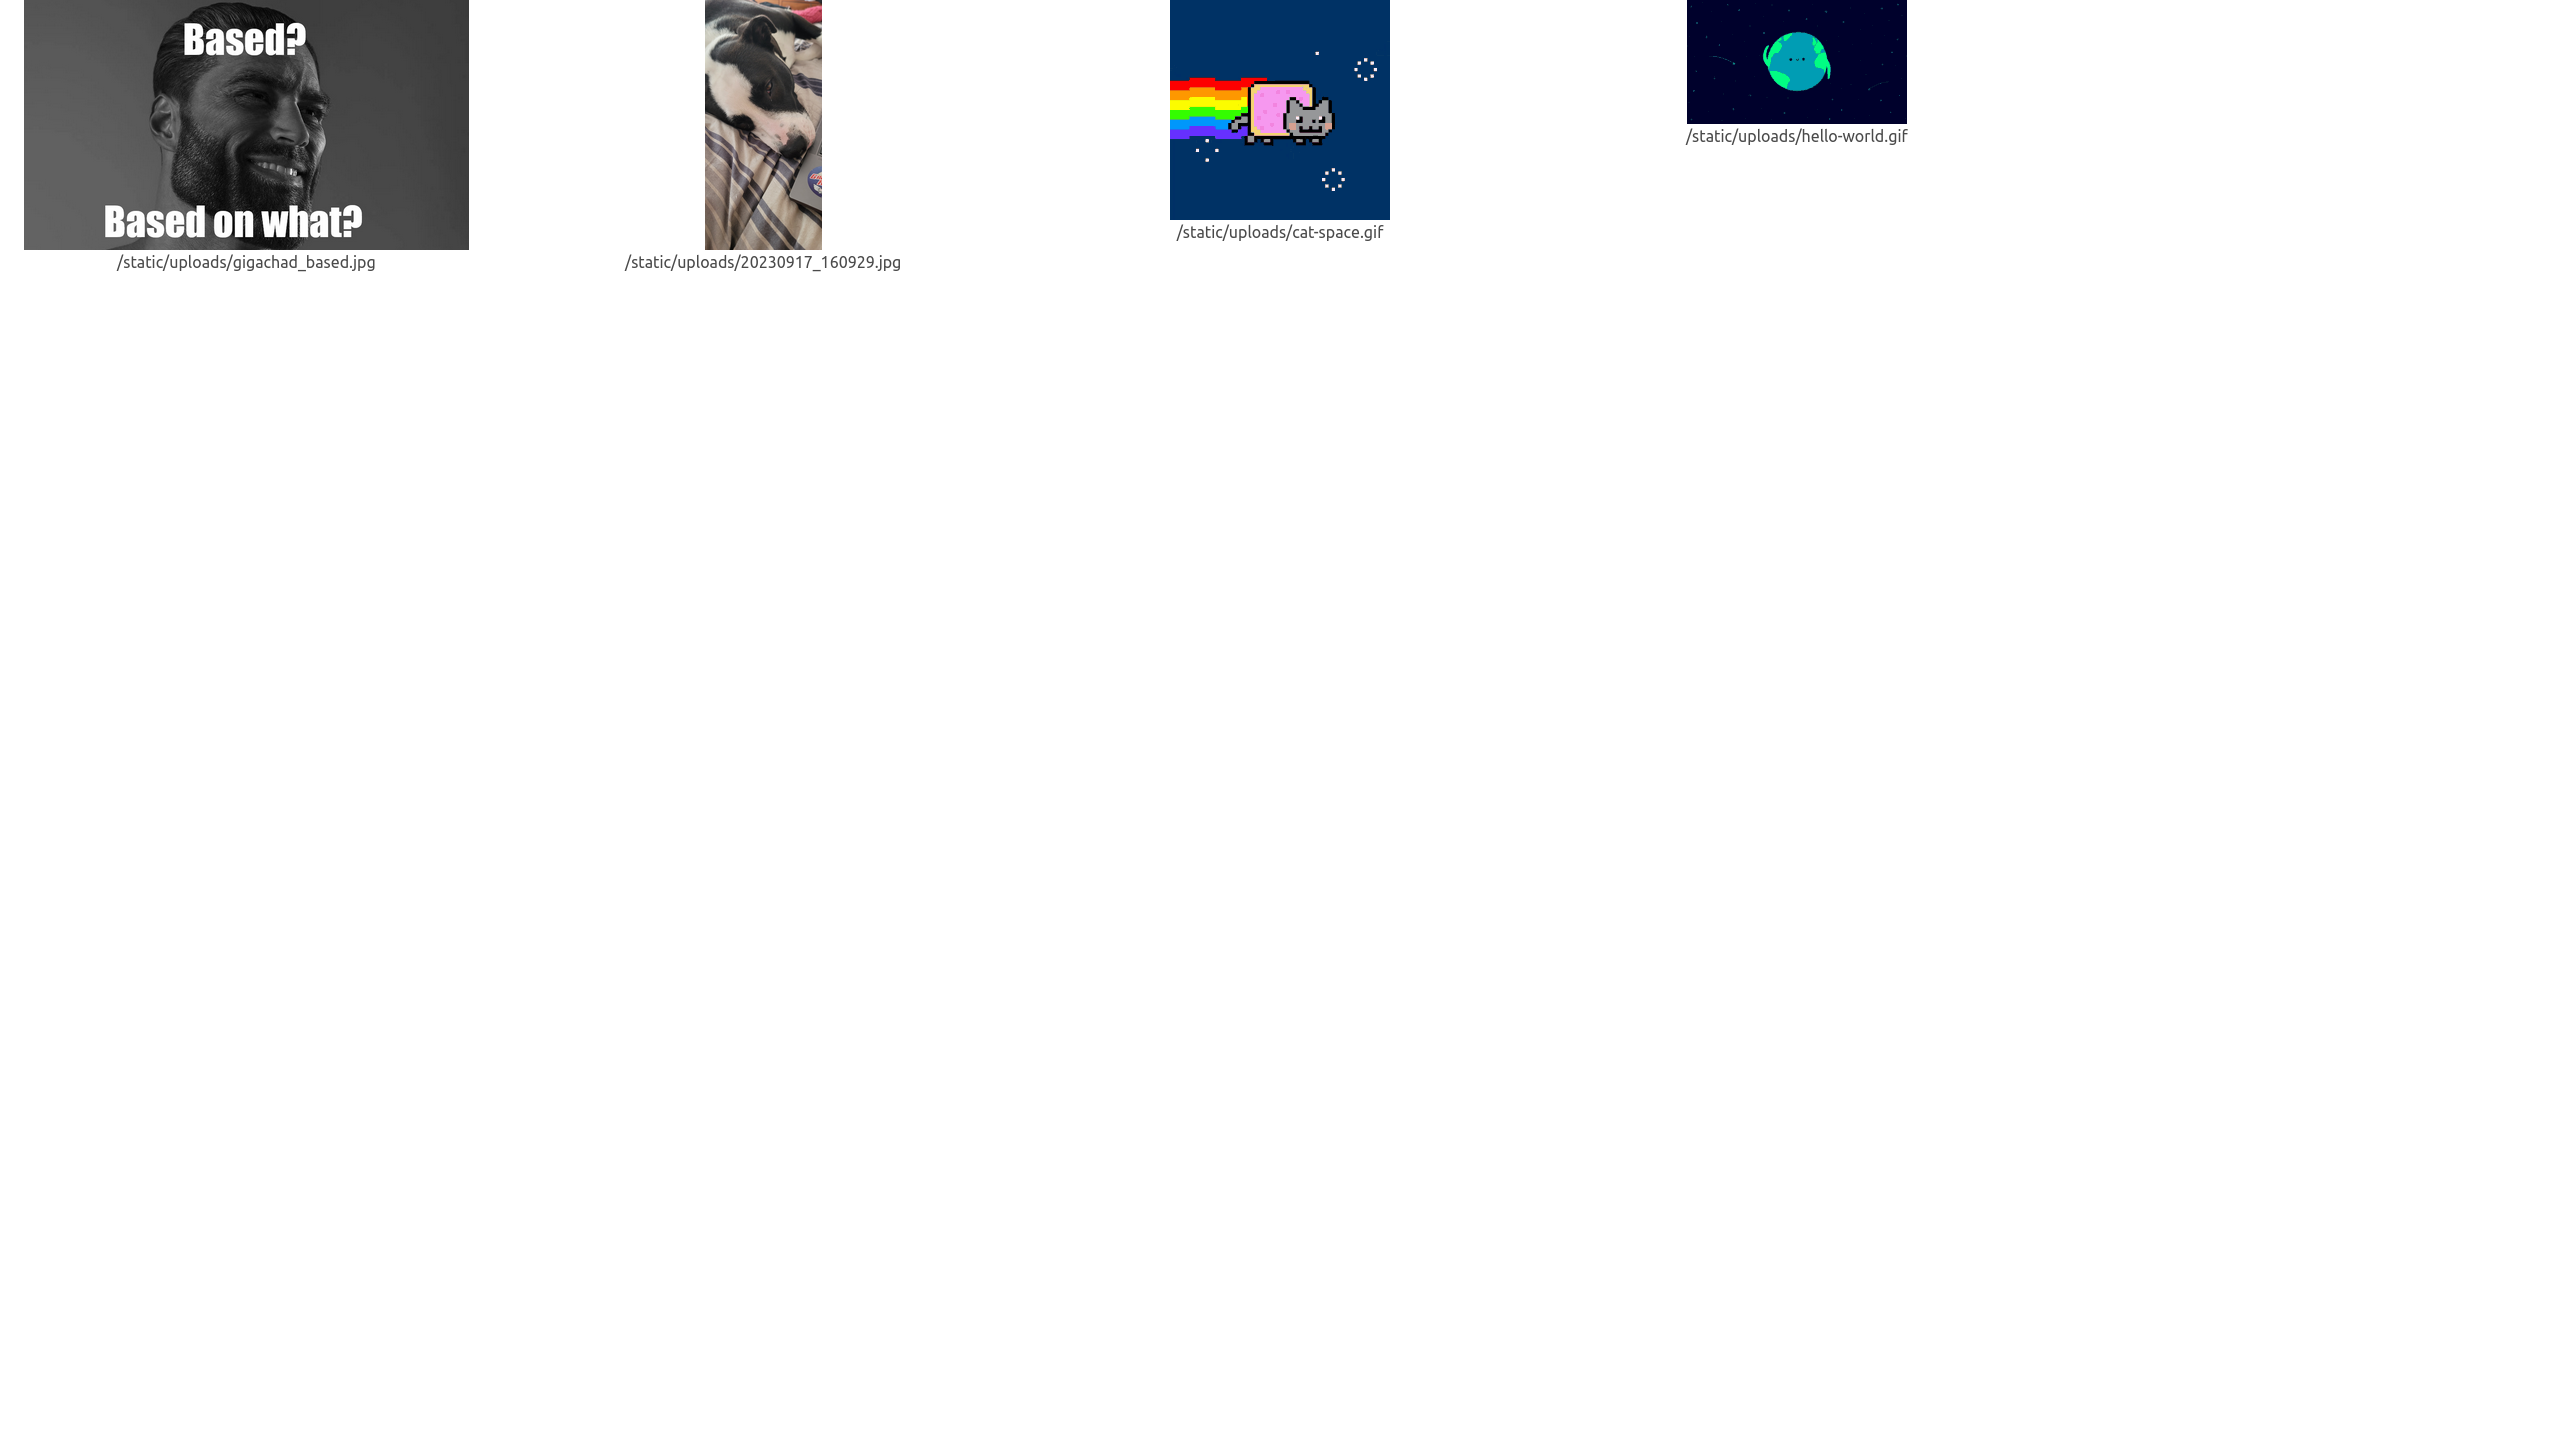
Like I said, pretty bare-bones. For this I just needed the images to be laid out in a usable way, I didn’t need it to look pretty. The functional parts are really just the script tag to import the JS, the for loop to create a column for each image, and this line:
<img src="{{ image }}" class="is-clickable" onclick="return closeSelf(this);"></img>
Which displays the image thumbnail and makes it clickable, calling the closeSelf function in image_picker.js. Which brings us to
###Step 3: JavaScript
This is where most of the functionality for this feature comes in. Let’s start with the closeSelf function in the image picker’s script since I already referenced it in the last step:
function closeSelf(sender) {
    try {
        window.opener.focus();
        window.opener.handlePopupResult(sender.getAttribute("src"));
    }
    catch (err) {}
    window.close();
}
This is pretty simple. All it does is focus the opening window (required for some functionality we’ll see later), call that window’s handlePopupResult function with the clicked image’s src attribute as a parameter, and then close itself. So what does handlePopupResult do? Well, here’s that code:
function handlePopupResult(result) {
const imageStr = '';
const bodybox = document.getElementById("bodybox");
const cursorPos = bodybox.selectionStart;
const end = bodybox.selectionEnd;
const bbValue = bodybox.value;
bodybox.value = bbValue.slice(0, cursorPos) + imageStr + bbValue.slice(cursorPos);
bodybox.focus();
bodybox.selectionEnd = end + 2;
update_preview();
}
So here I start by initializing a few variables:
imageStris the string containing the Markdown syntax for the image, created from the src attribute we passed inbodyboxis the textarea on the add/edit pages for the post bodycurorPosis the cursor’s current start position withinbodyboxendis the cursor’s end position withinbodyboxbbValueis the text currently inbodybox
I then insert imageStr into bodybox at the cursor’s position. After that I focus bodybox (which is why we needed to focus this window earlier, because otherwise this doesn’t work) and move the end of the selection (thus the cursor) 2 characters over so that it’s in-between the square brackets so I can type the image’s alt-text. I finally call update_preview so that the image shows up in the Markdown preview since none of what we just did counts as an input event so it won’t update automatically.
All that’s left now is to create a button to open the pop-up window on the add and edit pages, which is just one line of code:
<button type="button" class="button"
            onclick="window.open('{{ request.app.url_for('upload.image_picker') }}')">Insert Image</button>
And we’re done! This was an interesting problem for me to solve and it genuinely makes it easier to write these posts. I always love it when I create something that’s actually useful to me. It gives a great sense of pride. Thanks for reading, hopefully it wasn’t too hard to follow!